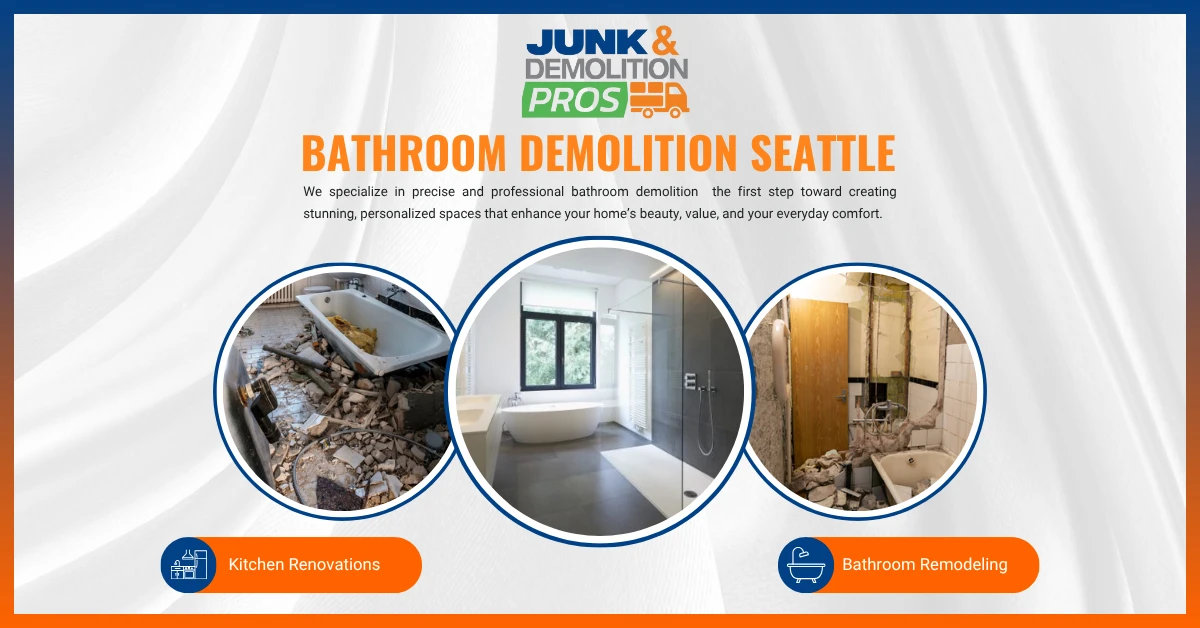
DIY Bathroom Demolition Seattle
Thinking about tackling a bathroom renovation yourself? One of the most empowering first steps is demolition — and yes, you can do it! If you live in the Emerald City and are searching for a way to save money and take control of your remodel, DIY bathroom demolition in Seattle is a perfect starting point.
Let’s break down everything you need to know — from preparation and tools to local regulations and disposal — all tailored for Seattle homeowners!
Why Choose DIY Bathroom Demolition in Seattle?
Seattle home renovations can be pricey, especially with rising labor costs. By handling your own demolition, you can save hundreds (or even thousands) of dollars. Here’s why many Seattleites prefer the DIY route:
- Cost-effective
- Flexible schedule
- Total control over the process
- Satisfying and empowering
Older homes in areas like Ballard, Beacon Hill, or Wallingford might also have specific materials including plaster partitions or retro tiles, which require greater care. But don’t worry — we’ll cover all of it.
Tools & Supplies You’ll Need for DIY Bathroom Demolition Seattle
Before you start swinging that hammer, here’s what you’ll need:
- Hammer & pry bar
- Utility knife
- Screwdrivers (Phillips & flathead)
- Reciprocating saw (aka Sawzall)
- Bucket or contractor bags for debris
- Shop vac
- Safety gear: gloves, goggles, mask
- Flashlight or work light
Tip: You can rent gear at Home Depot or check nearby tool libraries in Seattle neighborhoods like Capitol Hill or Greenwood.
Safety First: DIY Bathroom Demolition in Seattle
Demolition may be amusing, but it’s no longer with out threat. Keep those safety steps in thoughts:
- Shut off water supply to the toilet
- Turn off power to outlets, lighting, and fanatics
- Ventilate the area (particularly in older homes with mold or dirt)
- Wear protective gear to save you accidents
- Check for lead paint or asbestos, especially in houses constructed earlier than 1980
If you believe you studied asbestos or lead, touch an authorized Seattle abatement carrier earlier than continuing.
Step-by-Step Guide to DIY Bathroom Demolition Seattle
- Remove Fixtures
Start by taking out:
- Toilet
- Sink and vanity
- Showerhead and faucet
- Lighting fixtures and mirrors
Turn off valves and disconnect plumbing lines earlier than disposing of whatever.
- Take Out the Bathtub or Shower
Removing a bath or shower may be the hardest part. For bathtubs:
- Cut caulk or sealant with a utility knife
- Remove screws/nails from flange
- Use a pry bar to lift out the tub — or cut it (if fiberglass) with a reciprocating saw
For showers:
- Remove the enclosure or door
- Use a pry bar to detach the walls
- Lift out the shower base
- Tear Down Wall Surfaces
Next, remove tile and drywall or cement board:
- Use a hammer or pry bar to break and pull off tiles
- Cut drywall into sections for easier removal
- Watch out for pipes and wires behind the walls!
Pro Tip: Mark electrical and plumbing lines before demo to avoid accidental damage.
- Remove Flooring
Bathroom floors in Seattle homes may be:
- Tile
- Vinyl
- Laminate
- Linoleum
Use a chisel or ground scraper for tile. For glued-down floors, a warmness gun can also assist loosen adhesive.
Debris Disposal in Seattle: What You Need to Know
Seattle has strict rules about construction debris disposal. Here’s how to stay compliant:
- Sort materials like tile, wood, and metal
- Dispose of hazardous waste (like asbestos or paint) at approved facilities
- Visit the North Transfer Station in Wallingford or South Transfer Station in South Park for general debris drop-off
- Schedule bulk pickup with a licensed junk removal & Demolition company if needed
Tip: Consider recycling old fixtures or donating reusable items to places like Second Use or Habitat for Humanity ReStores.
Local Seattle Demolition Tips
Here are some real-world insights from Seattle homeowners who did their own bathroom demolition:
“I rented a trailer and did the demo over two weekends. Saved over $1,200!” — Amy, West Seattle
“Don’t skip the respirator. My 1920s home had old tile dust everywhere.” — Joe, Ravenna
“Use your neighborhood Buy Nothing group — I got tools and even free disposal help!” — Sarah, Capitol Hill
When to Call in a Pro
While DIY is empowering, some situations are best left to professionals:
- Mold infestation
- Structural damage
- Live electrical or plumbing in walls
- Asbestos or lead paint concerns
If you need assist with secure, ECO junk removal, a carrier like Junk Pros WA can haul away your debris without the strain.
Final Thoughts: You Can Do It!
DIY bathroom demolition in Seattle is a hundred potential with the proper equipment, expertise, and mindset. From putting off antique furniture to casting off debris responsibly, you’re now not simply tearing things down — you’re laying the foundation in your dream rest room.
Just remember:
- Plan smart
- Work safe
- Follow Seattle’s disposal rules
- Don’t be afraid to ask for help when needed
Ready to roll up your sleeves and start swinging that hammer? Let the transformation begin!
Happy demo day!